

So a while back my friend Lisa sends her crew over to help my hubby install a boiler. She is a small business owner and does these kinds of things. Anyhow, the end result is now a fully heated garage which I for good reasons covet for spray paint projects. Yeah, the chances of me winning on this front are not likely. I hinted that a wee bit of work space might be nice and got the LOOK.
So, life being life, we finally got Lisa and her hubby over for an evening and decided to hang in the garage a bit. Well, it is heated and away from the kids, so we could be adults for a few minutes! Not to mention he has the comforts of home out there so we could stream Pandora without getting the face we get from the 11 year old when we listen to classic rock.
Plus, Lisa brought over her collection of foam pumpkins and we got the bright idea of spraying them various colors and using glitter. The first part wasn't the problem. The second part was that we added wine coolers to the mix. I am bad spray painter on a good day. And glitter? It was a bad scene. In fact, so bad I didn't even take before photos. The garage looked pretty bad too and you know how guys are about glitter. Mine endures the occasional sparkle he ends up wearing from close contact with my projects. It is so difficult to take him seriously when he is sparkling!
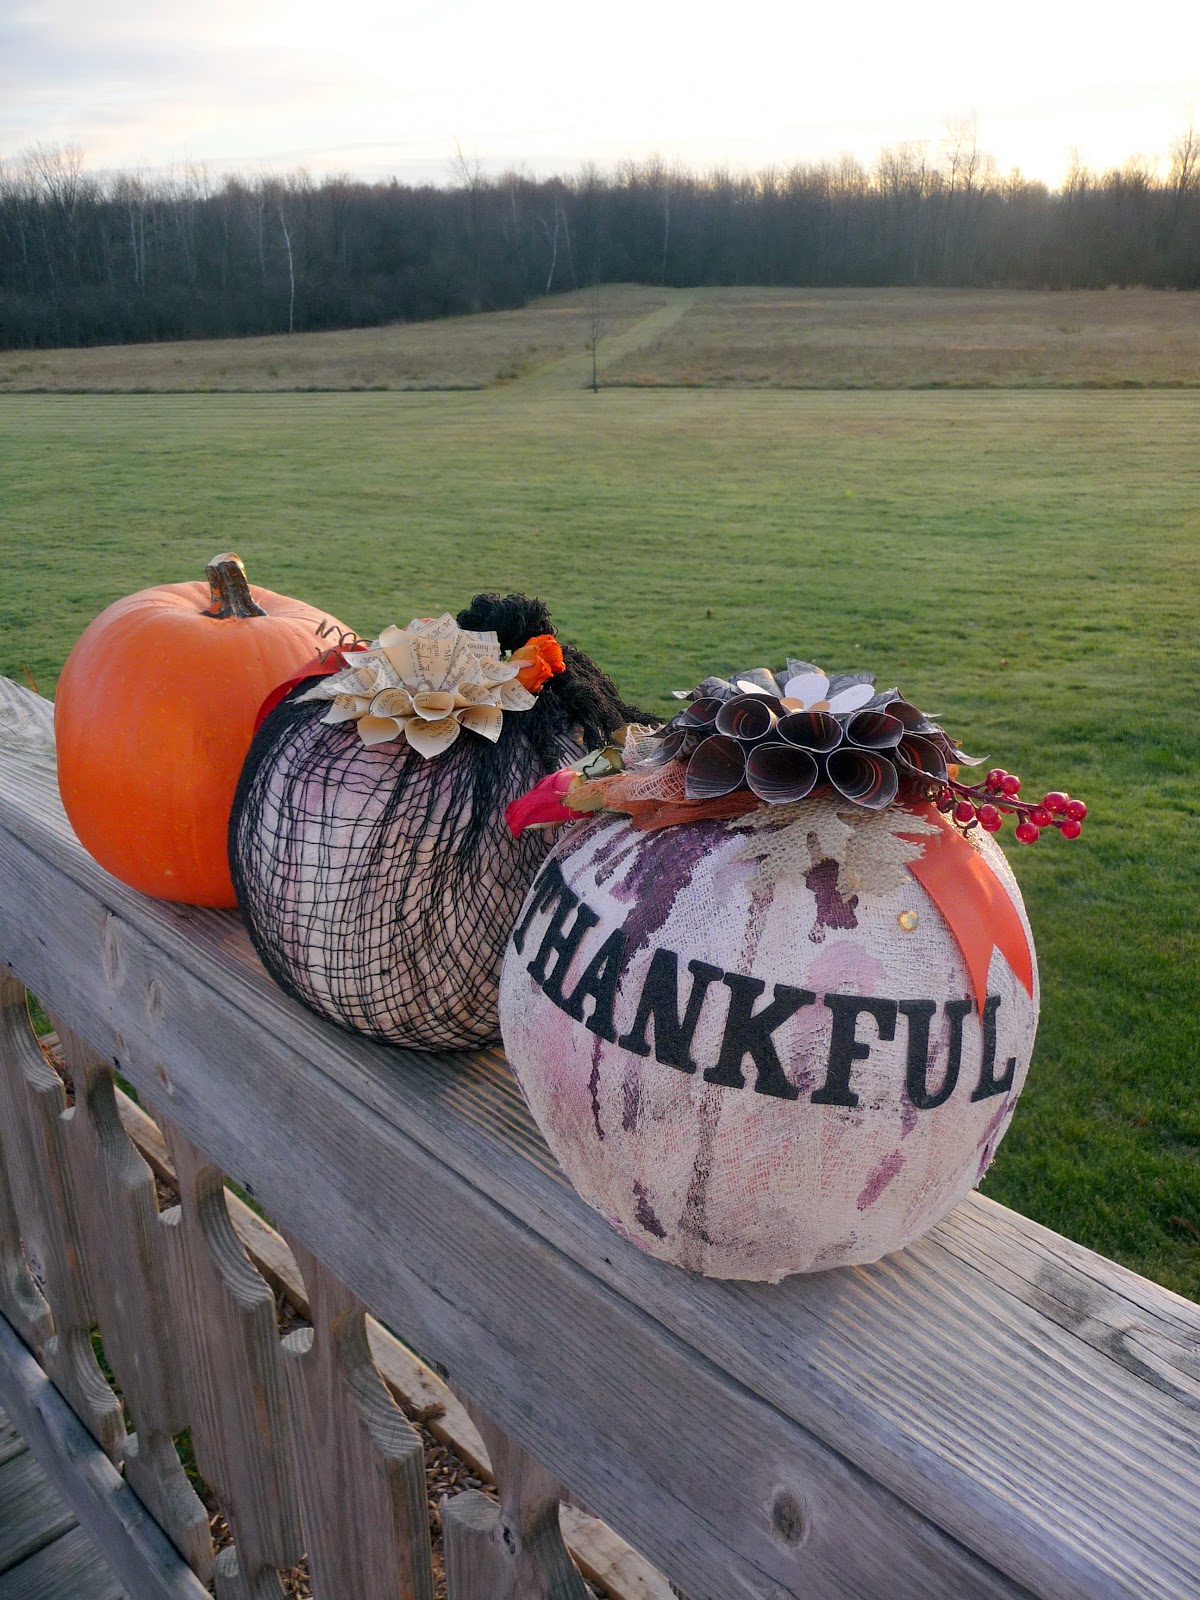
So, the only before picture you will be getting is the innocent orange pumpkin at the end that was spared spray paint, modge podge, tissue paper, glitter, and also cheese cloth. My finished product make me so much happier! But the before looked like poor little pumpkin zombies.
After spray painting them both white with an added bit of glimmermist and burgundy alcohol ink I was pleased with the clean slate but still a wee bit nervous..I love the texture that the cheese cloth gave it, but was unsure how it was all going to work out for me.
BUT, flowers always help out with more bits of cheese cloth, berries, and burlap! Not to mention black sparkly letters! My rolled flower made me super happy. Lisa had cut off the stem on one and I was trying to cover that up. And a huge rolled flower did just the trick!


I also wanted to do a brief tutorial on these rolled flowers. I got my book print one from The Mad Recycler. In fact, I got six from her and still totally respect the fact that these take a bit to do! So much so, I'd totally buy more and probably will when I see her at the next craft fair. Hers is more dainty than mine and I guess I'd suggest using a paper that is thinner for easier rolling. However, paper with two different patters IS really nice.
So, you will need two sets of squares to make a flower. Mine were 2 inches on the bottom and 1.5 inches on the top layer. I made 11 rolled up cones for the bottom and 9 of the smaller sized squares for the top. I simply adhered mine using a standard tape runner in the cone shape.
Now comes the hard part where you wish you had an extra hand. I arranged mine in a circle in a puddle of hot glue on a cut scallop. As you can see, mine isn't perfectly symmetrical.

 Once that cools, arrange the second layer and hot glue on a flower or circle that will cover any overlaps. I also added some glue to mine on the edges and glitter.
For a first time flower, I was pretty pleased. I can see how you could alter this flower for a hanging Christmas ornament and have it be quite lovely! I would just downsize the size of the squares. I also like how the book paper flattened out so the middle of the flower was depressed. I'd suggest maybe smooshing that section of the tube before the hot glue step!
Anyhow, as always, let me know if you have any questions!
Love them! Your flowers look great and the pumpkins are amazing! I also have some fancier flowers/snowflakes I hope to post this week!
ReplyDeleteLOL, I know the look! These are great, loving the rolled flowers might try them out with my art club at school, love it! Take care, Doreen x
ReplyDeleteHiya. They look wonderful. I loved the story of their creation! Your rolled flower looks great - you should try a book paper one now - I agree they do look time-consuming though. Sent you an e mail with all my Blogger deletion woes!
ReplyDeletewow! these are fantastic! thanks for sharing!!
ReplyDeleteWow, the rolled flowers and the pumpkins are stunning. Thank you for sharing the tutorial on the flowers.
ReplyDeleteThank you, friend:):):) Guess what I'm gonna do v soon???!!!!!
ReplyDelete