Tuesday, September 13, 2011

Once Upon A... Sketch Page & Luke's A First Page


Some days I just like a sketch! I know, sometimes I can't have one in my head bogging me down, other times they really make me happy. Anyhow, while blogging around lately, I have been trying to figure out ways to play along with Once Upon A....Sketch. It is a good one for sure. All about a memorable year. Now, I have done a page recently all about me where I talk about being happy with this year in particular. So, I really didn't want to redo that again. But, I got thinking about my son's new school year ahead of him.

Actually, his tears last night with dealing with a bully kinda spurred the thought along. So, I whipped up a page using his first day of school photo and some journaling to describe my worries, fears, and hopes for this year.

Here are my list of items used, including some little thanks next to them! Scrappy BFFS are the best.

White & Kraft Cardstock Base:  Close to My Heart
Blue Cardstock:  Stampin' Up
Green Paper:  K & Co. Wild Saffron Designer Paper
Black and White Thickers
Little Green Butterfly and black ribbon (thanks Tink!)
Green Flower Rub-on (thanks Helen)
Green Twine:  Purple Pumpkin
Tim Holtz Tape
Cardboard pieces:  Close to My Heart
Lace:  Stash from Marilyn
Little Alphas:  Cosmo Cricket

Alright, off to LINK up this page! Only Four Days left in this challenge!

Sunday, September 11, 2011

Remembering Today and a Altered Box


The whole 9-11 anniversary has been dwelling on my mind the past week or so. Not to mention, my office in PA was under 15 inches of water the past couple of days and feeling helpless five hours away was difficult. So, I kept myself busy this weekend with friends, made a cheese cake and a special box to house a little present I want to send out.

I also got this very amazing photo in my inbox from my daughter's school. They spent some time discussing the events of 9-11 and organized this flag photo. Of course, I spotted my kid and her three BFF's immediately. She would be in the middle!

I needed a box to hold some goodies for a friend and opted to play along with the color challenge at Color Combo's Galore. I initially wasn't in love with these colors, but the photo with the light pink rose, old books, and pearls was lovely. I decided to also add another color in along with these four and opted to let some of the black color of the box show through. I was super excited with how the gesso went on and how I almost got a wood grain.

I believe the Blue Fairy Dust color below also matches my friend's color in her bedroom. Hopefully she can reuse this box for something cool. One of my favorite things, reusing something that would normally get thrown away.


I love how the top turned out. I had a little Tim Holtz knob I added. I was just telling the hubby this am that there might be just one man I'd leave him for on the face of the earth. And his name was Tim. He was like, Tim who? I giggled. He didn't think it was quite as funny as I did. But then, I don't have to worry about sharing my stuff now..so maybe it would be a bad idea....

I also used a pink rose I picked up to match the one in the photo. I am a sucker for that light color of pink. Not quite so big on the Mulberry tea, so I used a bit less of that and opted to let a paper leaf and the pretty tag I added cover me for that color.

The little light blue knitted flower is another from my Helen stash! Thanks!

Can't wait to send this out. Now, I just have to find a box to send my box in!


Saturday, September 10, 2011

Middle School


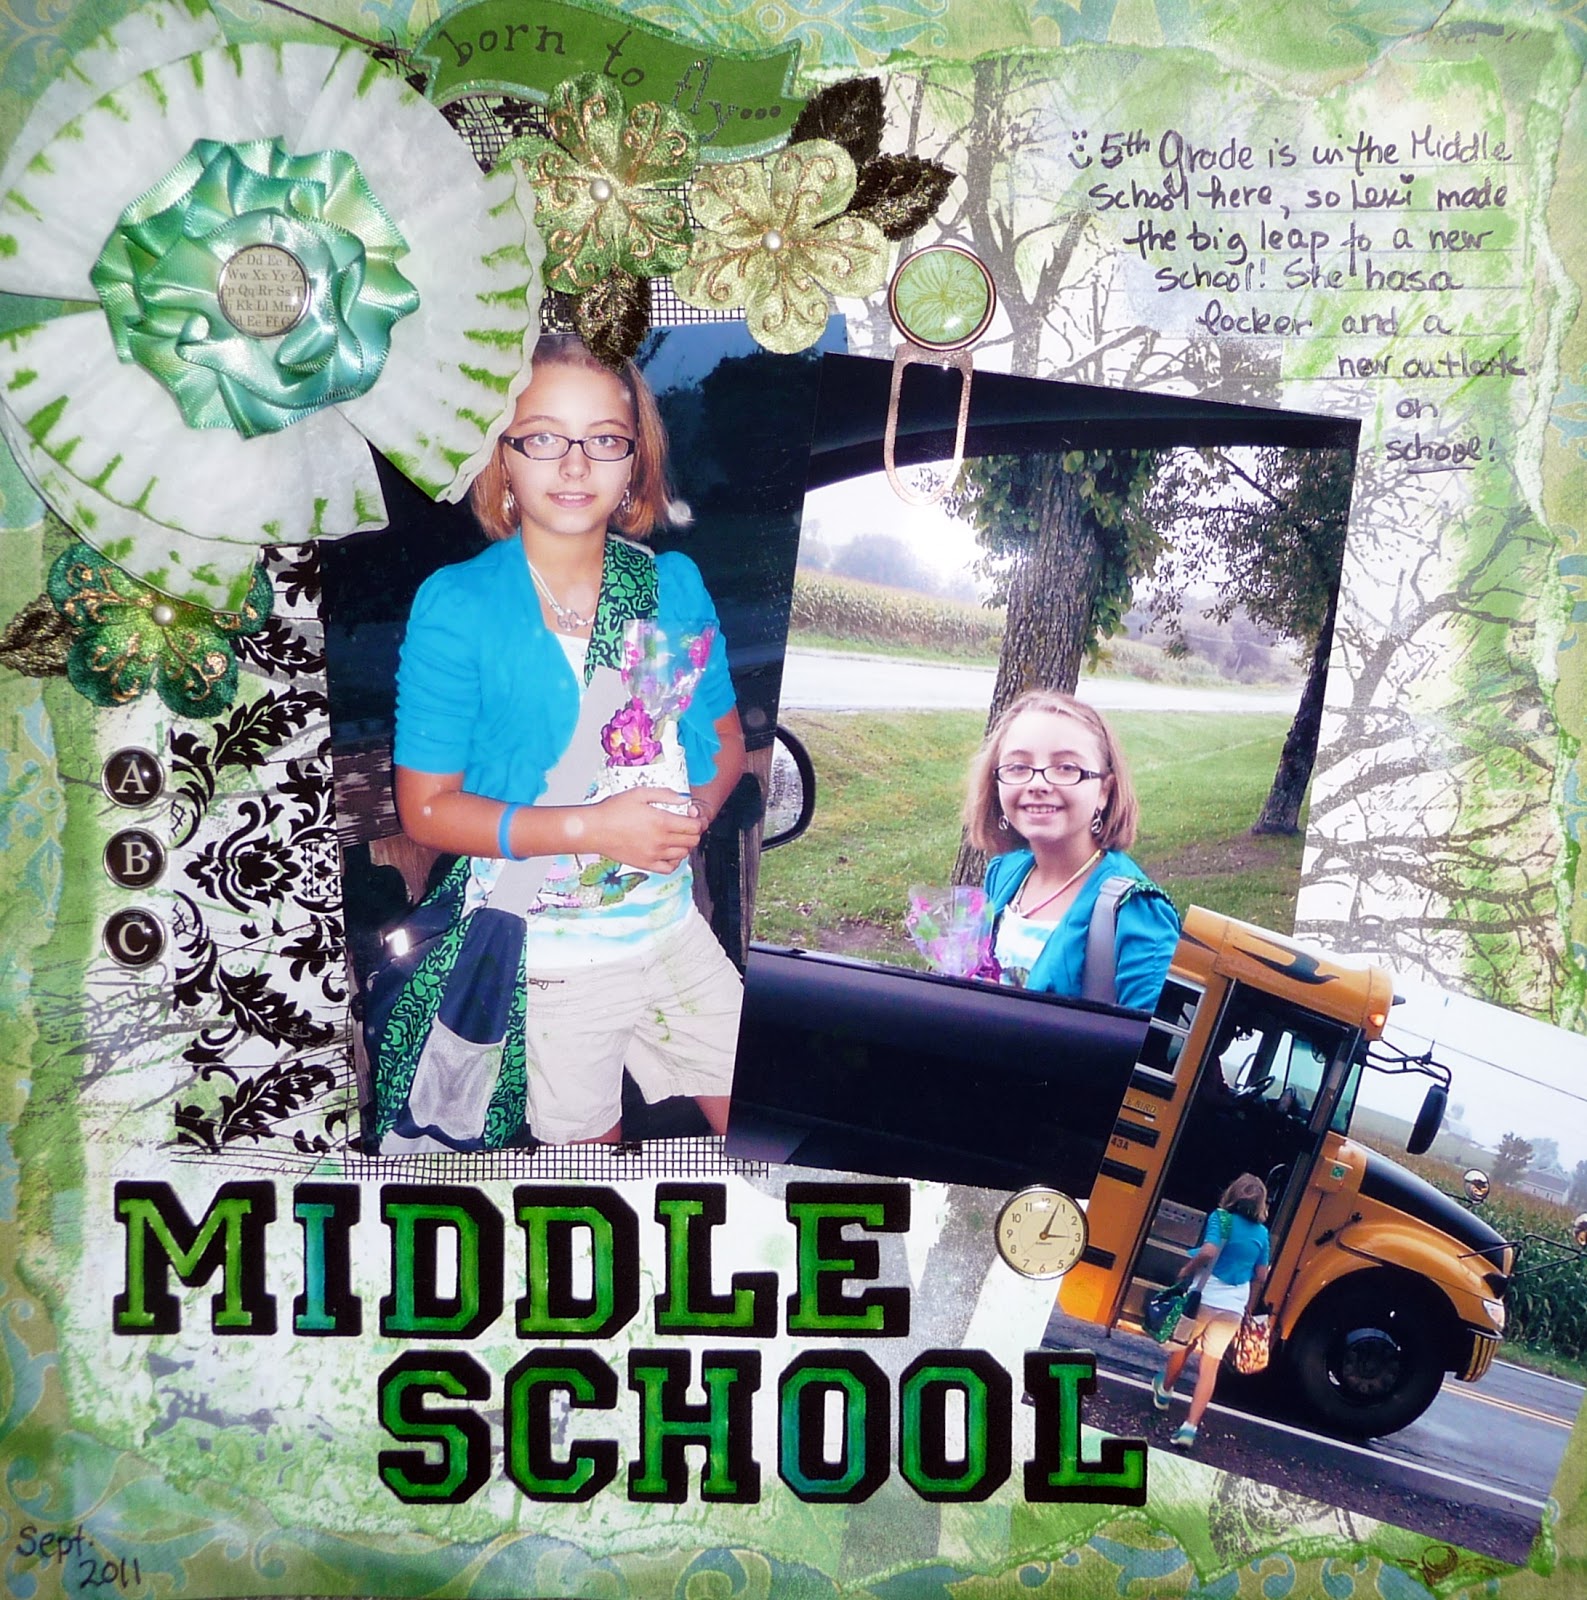
Nothing says back to school like Lime Green? Well, it IS her favorite color, so I do find myself using it often. Suppose you could say in her life, green is the new pink. 
Anyhow, Back to School is a big deal this year due to the fact that 5th Grade starts Middle School. I know! It's crazy.

I have had a hard time wrapping my head around that.
This page was inspired from a challenge I spotted out on Helen's blog. And, I have to say, it was difficult for me to figure out how I wanted to make my background paper. I understood her tutorial quite clearly, but finding that sheet of paper I wanted to alter was a bit of a challenge. I finally settled on this very busy piece of paper from Bo-Bunny's Back to Basics Line. I can honestly say that I have seen many family tree papers. I liked this piece, but wasn't in love with the title on it (since the family tree isn't anything I am planning on scrapping anytime soon). It was actually a relief to roll some white gesso on it to dull it down a lot. I also used another background piece of paper from CTMH that was also super bright. I LOVE the fact you can still see the tree and the title has disappeared under my Thickers spelling out Middle School. These lovely velvet letters were super easy to ink up to match. 

My flowers were fun too. My last post explains how I made them. I even went so far as to use a cup cake liner. I had these liners out on the counter in hopes I'd come up with something for them. For some reason they got mashed in my baking drawer and were completely flat! So, I folded three of them and inked them up. 

Love it!

Thanks for those flowers, clip and chipboard too Helen, makes it even better since I am using them for your challenge. 

So, anyhow, I am inviting YOU to participate in this challenge with me. 

It's a good one. Head over. The specifics are below:

It's on the Scrap-It-Lah blog and the rules for the fun are here:


5 Simple Rules for playing along at Scrap-it-Lah Challenges

1.       Please create a NEW layout for each challenge but you are welcome to combine with other challenges, as long as your layout was specifically designed with Scrap-it-Lah in mind and created AFTER the challenge details were posted!

2.       Please remember to mention Scrap-it-Lah somewhere in your blog post; create a link back to the correct challenge post at Scrap-it-Lah.

3.       Please include the challenge requirements within your blog post – you are welcome to copy; paste these off the Scrap-it-Lah blog.

4.       Please also mention the deadline the challenge ends and let everyone know what prize is up for grabs!

5.       Remember, you must be a follower of the Scrap-it-Lah blog to be “in with a chance to win”

Create your own mixed media background, using printed paper as a base.  Be sure to include at least 3 different paint colours in whatever effects you fancy. This can be using stamps,  bubble wrap,  etc etc - its all up to your imagination.

Also ensure that you have at least twelve words on your layout, which can include the title, date (if you want to include one) and the journaling (or even be one REALLY long title if you like!)


Thursday, September 8, 2011

Inspiration Board 207 for Color Combos Galore

Yeah, I saw this board a bit back while we were in Lake Placid and pretty much thought no way. I am never big on red unless Valentine's Day is involved. Or like the 4th of July. Or strawberries...OK, so it's not all that bad. But with purple? Seriously?

And two pictures of me in one week on my blog? Again, seriously?


Yeah, that is the GREAT part about challenges. AND, CCG is addicting. I told myself, NO, I am not doing this one. And look what happened. Next thing you know I have white gauze out and I am dying it purple.

You know, this page does also crack me up. I have had the opportunity of late to hear some good little pieces of advice. The kind I want in my life. Snippets. Love it! They are not really quotes, but more like little sticky notes I should have in my brain.
Since the challenge itself is about books and words, I thought it would be a perfect to include those snippets for my journalling. And also, part of their challenge was use to paper with a dictionary or text pattern. I managed to fit that in behind my banner for my title. 

And the flowers, more from Helen's stash! LOVE THEM!! She sent the cutie pie little clippy too!

My materials list is pretty simple:

Gauze dyed with CTMH Stamp Pads & Clear Glimmermist
Shimmer Modge Podge to hold the gauze on
Red & Cream Cardstock from CTMH
purple flower & brown clippy from Helen
Purple clippy from Shirley
Other flowers & button from Stash
Wooden Dragon Fly from my Mom (yes it's symbolic)
and the wooden window which is also symbolic is from ArtChix Studio

And always, any questions on technique, I'd be happy to share!

What words of wisdom have YOU heard lately?

Wednesday, September 7, 2011

Adding Color to White Ribbon and Tail O' the Pub Page


Sometimes for me, working without a sketch is a breath of fresh air! It was kinda fun just picking a photo or two, finding some paper that matched (didn't have a lot, don't do a lot of patriotic pages) and running with it. I knew I wanted to make some ribbon roses so I could do a quick tutorial on using mists & inks, but other than that...


This page was made from recent photos we took during our trip to Lake Placid. And, look close, I am actually IN the photo! Can you believe it?


Now these roses are super easy. Use the tutorial I linked up the other day. THEN, figure out what colors you want to use. Now, I don't have red and this shade of blue in glimmermist but I do have them in ink pads. I used the edge of the pad to stain the rose. Then, I used clear glimmermist to allow the inked edges to fade into the flower. Then, poke a hole through and insert your decorative brad.

Now, the second rose I did have colors I wanted to use, but also wanted a stronger green color than I had. So, I inked up one edge and sprayed the rest of the flower with various shades of glimmermist. Now, if you wanted a nice rainbow coloration, you'd use colors that would "fade" into each other. So, red next to a yellow next to a blue. That will make it quite tie dye like.

 I set my rose with some similar colored flowers so I could start planning flower clusters on my page. (Thanks for those cool Prima flowers, Helen!)

Now, back to my page! I wanted to give you a close up of the cluster of flowers I put together along with a photo of the signs at Tail of the Pup. Helen sent me those very cool red and blue flowers, which worked out perfectly. I happened to have some little brads I added to the center. She also send me the doily that I inked up and sprayed with clear glimmermist too. Basically in my book, if you have some kind of clear mist, you can make anything you need from either reinker or ink pads. SHHHHH, don't tell Tattered Angels I said that. There is also a way to make your own mist, but I have not explored that yet. I am sure at some point I will not have that perfect color and will give it a whirl.

List of items used:

White Cardstock
Red Glitter Paper from Stampin' Up
Doily from Helen ;-)
Basic Gray Paper Clip
Red, White and Blue Flowers-handmade and from Helen
Brown Twine
Ink Pads (Holiday Red and Star Spangled Blue) from Close to My Heart
Clear Glimmermist
Brads from Stash

So, I will be linking this up on the Do More With Less Blog challenge. I linked up Kristy's page the other day, but this is all mine!! Check it out!

Tuesday, September 6, 2011

Little Projects


WOW! In an effort to squeeze the last little bit of fun out of summer, we went out of town this long weekend and camping. And, I am not sure if it is the fall that is coming on here or the campfire smoke, but I believe I have some allergy thing going on. So, you will have to forgive me for delaying my post on my tie dye flowers. I do however have some itty bitty projects to post. Since school started today and I had purchased a few goodies as a teacher present, I was forced to hurry up and assemble them in the wee hours of the am quickly. Hence the photo of one in the DARK!

I used up a few clear bags I had (don't mind the paw prints, but I love animals!). I had purchased these pen/pencil holders a while back, filled the plastic bags with chocolates, added a chap stick and mini bottle of hand sanitizer. All that was left that I wanted to add was a homemade tag and flower. Yeah, that didn't happen this am. I did add a flower, but it was from my stash!

Here is another shot of the boy with his that is at least in the daylight! Is he not adorable? I was super excited to hear from Luke that his is already installed on his teacher's desk and holding pencils. (Betcha she needed the chocolate too!)

My next little fun project was a wire heart hanger sent all the way from Helen in South Africa. And listen, seriously, you need to check out her blog. She has a sweet page up that I so enjoyed last night.

Her gardener made the little hanger. Did you guys know that Tim Holz alchohol ink would stain something like this? Nope, me neither. I give it a whirl real quick during lunch. Then not having any ribbon I liked, I grabbed some white and threw the ink all over that too. It turned tie dye like when I added the alcohol. Very fun.  The only downside is that I didn't know it would work on the wire as well! Next time, I use tape! Anyhow, Lexi was super excited about it when she got home! She has all kinds of necklaces she wants to hang on it!

Well, so long for now from SNOTS!


Friday, September 2, 2011

A Scrap Page and some pretty nails!


Time with the BFF is precious. I am so happy I got to bring a job with me when I moved so I still have good excuses to hit the road and visit. And check out the page she did! I had her working from a Sketchobilities sketch, gave her some new ribbon roses I created from a tutorial, and a stack of paper.

Her title was inspired by Bird is the Word. I am going to link this page up with them but since it's a joint effort here, ask that I'm not included in their contest. I do want to say thanks for the great word and inspiration!

Her base paper is Spring Song from Little Yellow Bicycle. She then layered a bunch of paper from K and Co. Designer Mat Pad and some Bo Bunny Back to Basics. I also convinced her to really go out of her element and use the gold die cut pieces I had brought her on either side of her photo. The thickness also was different for her as my ribbon flowers aren't exactly flat!

It's a long weekend here in the States and there is some serious visiting involved in our lives, so I am thinking I won't be back in the scrap room for a bit, BUT, I would like to give a tutorial on how to glimmermist them for this tie dye affect in a future post. So, stay tuned! Here is link to the flower tutorial again in case you're interested. It's on Yvonne's Blog More is Less.

I also wanted to show you photos of our NAILS! We tried out some new stuff from Sally Hansen called Salon Effects  that really ROCKS! Kristy is sporting it. I watched her apply them and it took about 10 minutes. She reports that there is some minor chipping but due to the white pattern it looks perfect still. You just get enough to do one set of nails and they will run you about $8 to $10 I think, but there is a ton left over so you can reapply if one gets oogie. Mine are a lovely lime green! And, I am happy that all the paint came off my hands too so I looked normal for once! Nails are not normally my thing since I am usually wearing paint and/or glimmermist as much as possible on my patties!


Tuesday, August 30, 2011

Paris Pg 2 and a clean scraproom

All the surfaces in my scraproom are tidy. This isn't a good sign. I don't really tidy up between pages. Well, I do, most things get put away, but this is tidier than normal. Getting ready to head to PA for a couple of days for a team event. We get together as a team in real life every three to four months, eat cake (and lunch) down by Reading, PA. Ah work!

Interestingly enough, my bff is meeting me tonight and we are doing a scrap page together. Well, I've made her a kit. I think she needs a page of layers. Poor thing. I have packed my hot glue gun. We are also using a sketch (see the one below), but mostly because I think she'll enjoy it...and it's a great sketch. One thing I love about the blogging community is the free free free aspect!

And I have tucked in a few goodies from a package sent to me from Helen, who ROCKS!! Oh my, the fun I had ripping it open. So from far away a few scrapooking goodies will come to rest on a page I am sharing. It's just all good.

I did bring my camera but normally these trips leave me drained, so not going to promise much blogging from the road. Might be too much cake...that could be my problem.

I did want to share a quick page with you.

This is the second page of a two page layout my friend Marilyn made for me.

I blogged about it earlier. Can't find it to link it here. I have made a new resolution to myself. Only use titles that describe the post. Yeah, don't hold me to it. Prob not going to really happen, but it's a nice thought.

So, this page was finally completed the other day. I had spent a few days with my aunt from Cali in Lake George NY and asked her nicely to write my journalling. When I was in highschool, I spent a summer in Paris with my Aunt and Uncle. The photos weren't amazing, but printed smaller, not so bad. I liked hearing the story from her aspect. I think if you want to give reading the journalling a whirl, you can just click on the page and it will enlarge. So, it's neat to have her handwriting, my addition which was the two little frames on the side, and then Marilyn's base scrapbooking to enjoy. It's kinda what scrappin' is all about. Plus, both sisters (My Mom and her) poured over my Mom's album from Paris, so that was very cool too. 

See ya in a few days!

Monday, August 29, 2011

CCG Challenge Page 206


Oh my the colors they picked this time round were AMAZING! I really enjoyed this challenge. The photo on this page is just set in there. I am still waiting for a photo from a friend who recently got married in a lovely vintage type gown which actually should match these colors nicely. So, I expect maybe she'll also want to add some journalling too in her own hand. This should make a nice little framed page for her wall.

Each little item I placed in my flower cluster have meaning. As part of the challenge they asked that we use a piece of wood. I used a grapevine and also the little dress form (yet more of Tink's stash). The little best friends heart is also out of wood. The dress form symbolizes the special dress my friend's hubby purchased for her for their special day. The Best Friends wood piece describes words she used to describe their relationship. The little white sparkle angel wings are also a symbol that are special to her. Of course, I also used a vintage handkerchief I had cut in half as the other half was damaged (something old?) and the hat pins are not only fun, but I used a really old crystal on one of them. I was going for the old look. The title is also something she used to refer to her hubby.

The items I used on this page are as follows: 

  • Quick Quotes Ribbon (white & black stripe) from Tink's Stash
  • Anna Griffin Clear Paper
  • Stampin' Up White Ribbon
  • Black Close to My Heart sandable paper
  • Vintage Lace Hankie
  • Vintage crystal bead
  • stick pins
  • tattered leather glimmermist

Sunday, August 28, 2011

But I didn't pack for Irene!


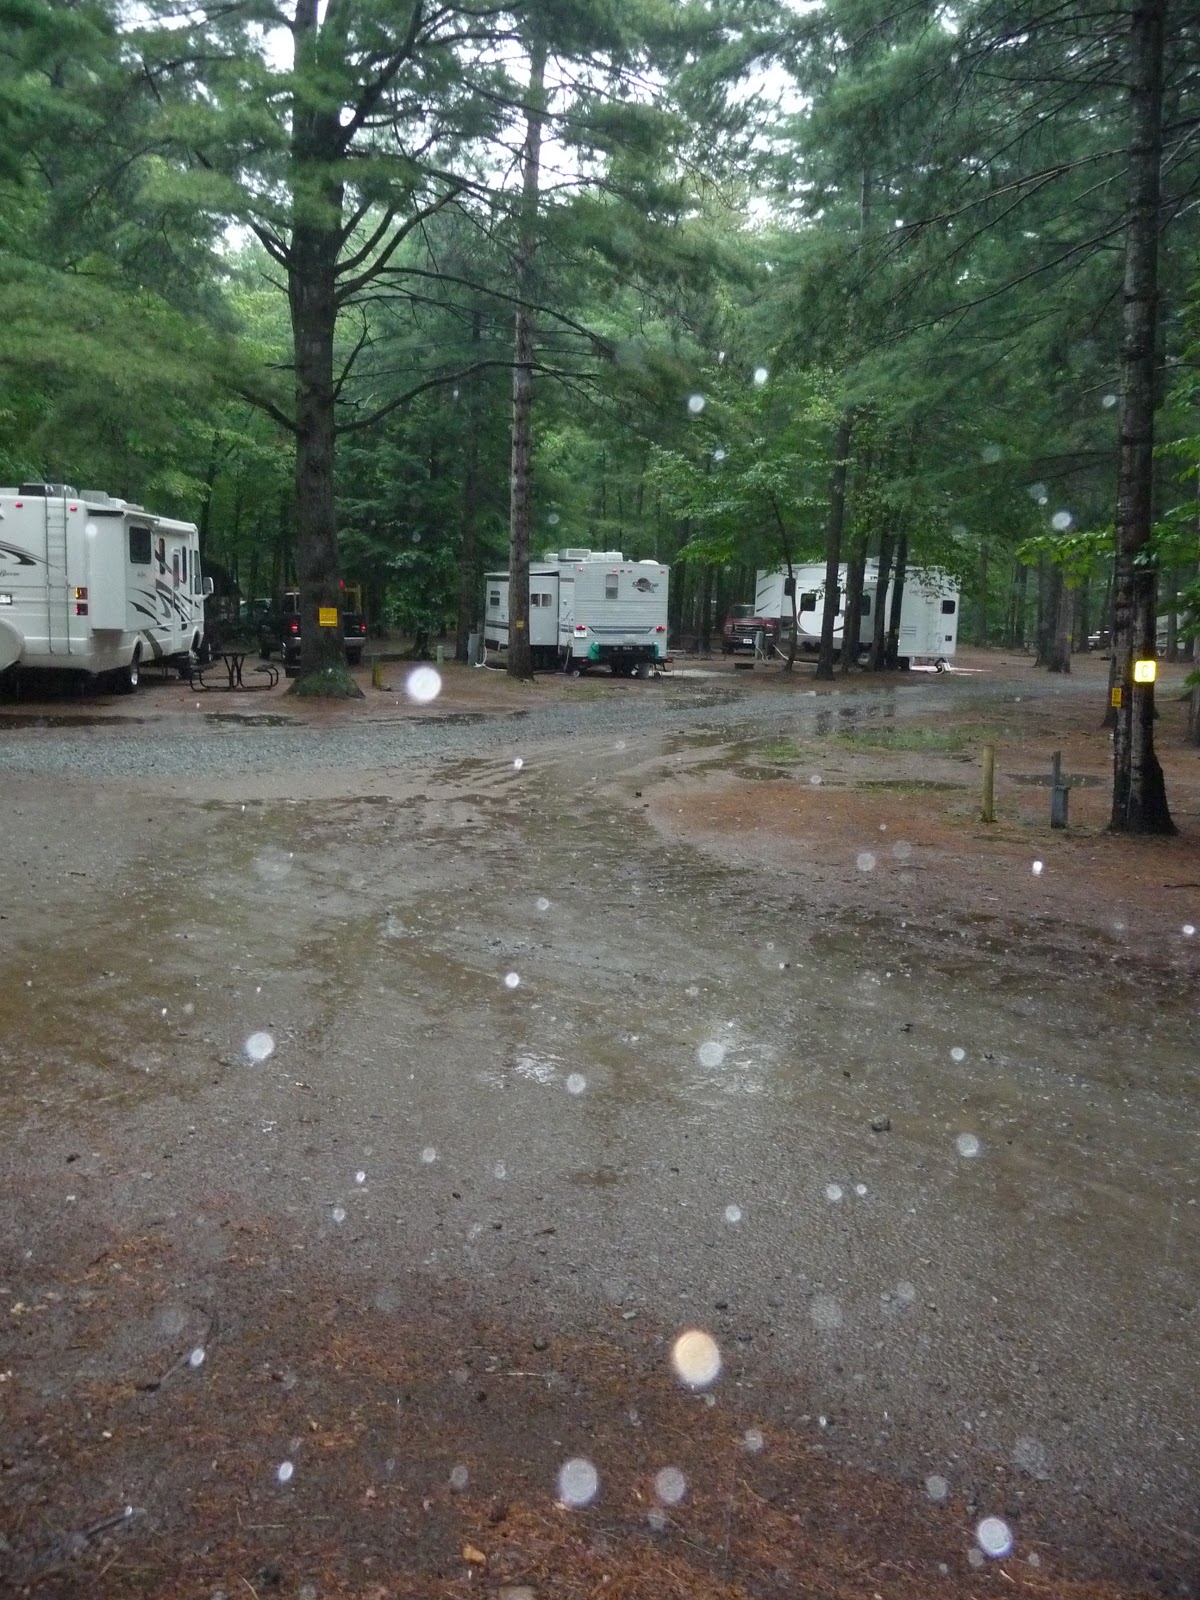
We spent the weekend at the KOA in Lake Placid. It went so quick! Of course today wasn't much fun. We knew we'd be packing in the rain. We are pretty much only getting rain from the Tropical Storm Miss Irene, formerly a Hurricane. Thankfully we are so far north that most of the wind missed us as well. However, it did make for a quick pack job. Poor Hubby was SOAKED! As he attempted to dry off in the truck on the way back home he mused....how could we have done this quicker or better so I didn't get totally wet! And, I said, well, we could have at least an extra shirt for you in the truck...at which point, he said, well, I didn't PACK for Irene! I only had enough clothes left for today!

I found this year I didn't take as many photos of the campground as I had last year. I have a ton of pages I made from our weekend trip last year. I wanted to share a page I made last year. This photo was taken along the Ausable River, a short walk from where our camper was. Most of the products on this page were from Close to My Heart. I did use real birch bark! One thing a dye cutter is good at! I did really notice when I opened my scrapbook from last year how much different my style is or even how much THINNER!

I think it's the result of blogging around and seeing other work you LOVE! Back a year ago I spent time looking a magazines and catalogs that are US based. I still love to look around at those, but I love the content I can get on my ipod in the evenings sitting on my couch. It's always fresh and not a few month old! Not to mention, real live people blogging about real live things not just their perfect life on their pages!

So, I challenge you to grab a page from a year ago and see if your style is the same!

Thursday, August 25, 2011

oh Goodness!

It was one of those days today. As you all might remember, I work at home. And somedays despite my best efforts, it still is well....WORK!

I am back at it a bit, the 100 plus e-mails need filed before tomorrow, but at least I had some time to take a break in between it all. I did consider at one point hiding under my desk mid-day, but I would have had to ask the dog to leave that spot and I am pretty sure it would have been a fight!

Now, I did want to share a card and a little Mitra-ism. Well, normally it's Lisa that has the stellar advice. Mine isn't nearly as funny. Mine is regarding "hater" e-mails. You know the kind. The one that if the person writing the scud e-mail would have just picked up the darn phone and asked questions IN PERSON, they would have understood that they misread the situation. Anyhow, meeting at 10 tomorrow to disect the entire e-mail, which just goes to show you how much time a bad e-mail can waste. So, don't be a hater, pick up the phone already!

So, anyway, on to my card! This is mostly made from recycled stuff. The back ground with flowers was Bo Bunny packaging and the pretty scallopy die was made out of cardboard!  I do LOVE my flower! Saw a dandy ribbon tut out on Yvonne's More with Less blog, which I copied but with smaller ribbon and some that was already crinkly. Fun little butterfly came all the way from Tink's private stash, yahoo!

And, since today is my Friday (sorta, still have that 10 am mtg tomorrow) and we're heading off for big adventures, I thought I'd share my next project! Found this lamp recently at North Country Neighbors. To be exact, some dude was carrying it in to sell in his wife's stall and I was like, HEY WHAT DO YOU HAVE THERE and scared the crap outta him. I think he thought I was hitting on him, but no, I really just wanted the lamp!


Tuesday, August 23, 2011

Our House Scrap Page for Once Upon A Sketch


Was flipping through Picasa today trying to decide what was next when I came across this photo.
You will want to click on it to enlarge. It's the backside of my house, coming from our woods and the sun happened to be setting when my Sis in Law grabbed a photo. Immediately my mind flashed to one of my favorite songs of all time by Crosby Stills Nash and Young, Our House.


Very good song. Something played often in my house growing up.

I'll light the fire, you place the flowers in the vase that you bought today. Staring at the fire for hours and hours while I listen to you Play your love songs all night long for me, only for me. Come to me now and rest your head for just five minutes, everything is good. Such a cozy room, the windows are illuminated by the Evening sunshine through them, fiery gems for you, only for you. Our house is a very, very fine house with two cats in the yard, life used to be so hard, Now everything is easy cause of you, ooo, wah, la, la, la...Our house is a very, very fine house with two cats in the yard, life used to be so hard, Now everything is easy cause of you, ooo, wah I'll light the fire, you place the flowers in the vase that you bought today

I also thought that NOW I can play along with Once Upon A.....Sketch which is always a goal of mine at least once a month.

Pulled out some paper and BLAH! It had to be something special. Lime Green is one of my daughter's favorite colors (and why not, it's amazing!) so when I spotted this new piece I had bought recently from Bo Bunny (double dot) I thought, we might just have a winner! Now I must admit, my fancy circle piece is um...the cardboard from the back of a paper pack...and glimmered up pretty with a stencil from Tattered Angels. Of course I had to use some vellum "lace" for the edges and a Purple Pumpkin button with the edges darked with ink and placed in a bottle cap!


I am also not yet sick of my new Tim Holtz rosette die and made a flower from paper still hanging around from making Shirley's boxes.


The Tink sent me this cool butterfly! Which of course pushed the lime greeny paper! And that fab material in the background that is very sheer! If you take a look above, I also tucked some under my rosette! (and on a side note, her package arrived and was inspected by my crack postal inspection team, both kids wanted to know WHAT COUNTRY the package was from due to the pretty seal on the front of it...)


I included the original pic I started with in this post also because I wanted to talk about using "special" photos for a minute. I think a photo with some cool edits can only enhance a page. Now, this one I added the lens flare in photoshop and also some of the lyrics. Also, lightened it up a bit! The words on a photo can easily be added in Picassa which is not only free, but also a wonderful easy to use program for editing photos. Give it a whirl!